No-Bake Healthy Cake Pops: Your Go-To for Quick & Guilt-Free Indulgence
In a world bustling with demands, finding moments of sweet escape often comes with a side of guilt. But what if you could indulge your cravings for something delicious, satisfying, and utterly delightful without any regrets? Enter the realm of healthy cake pops – the revolutionary treat designed to delight your taste buds and nourish your body. Forget processed sugars, unpronounceable additives, and lengthy baking sessions; these no-bake wonders are redefining what it means to enjoy a dessert.
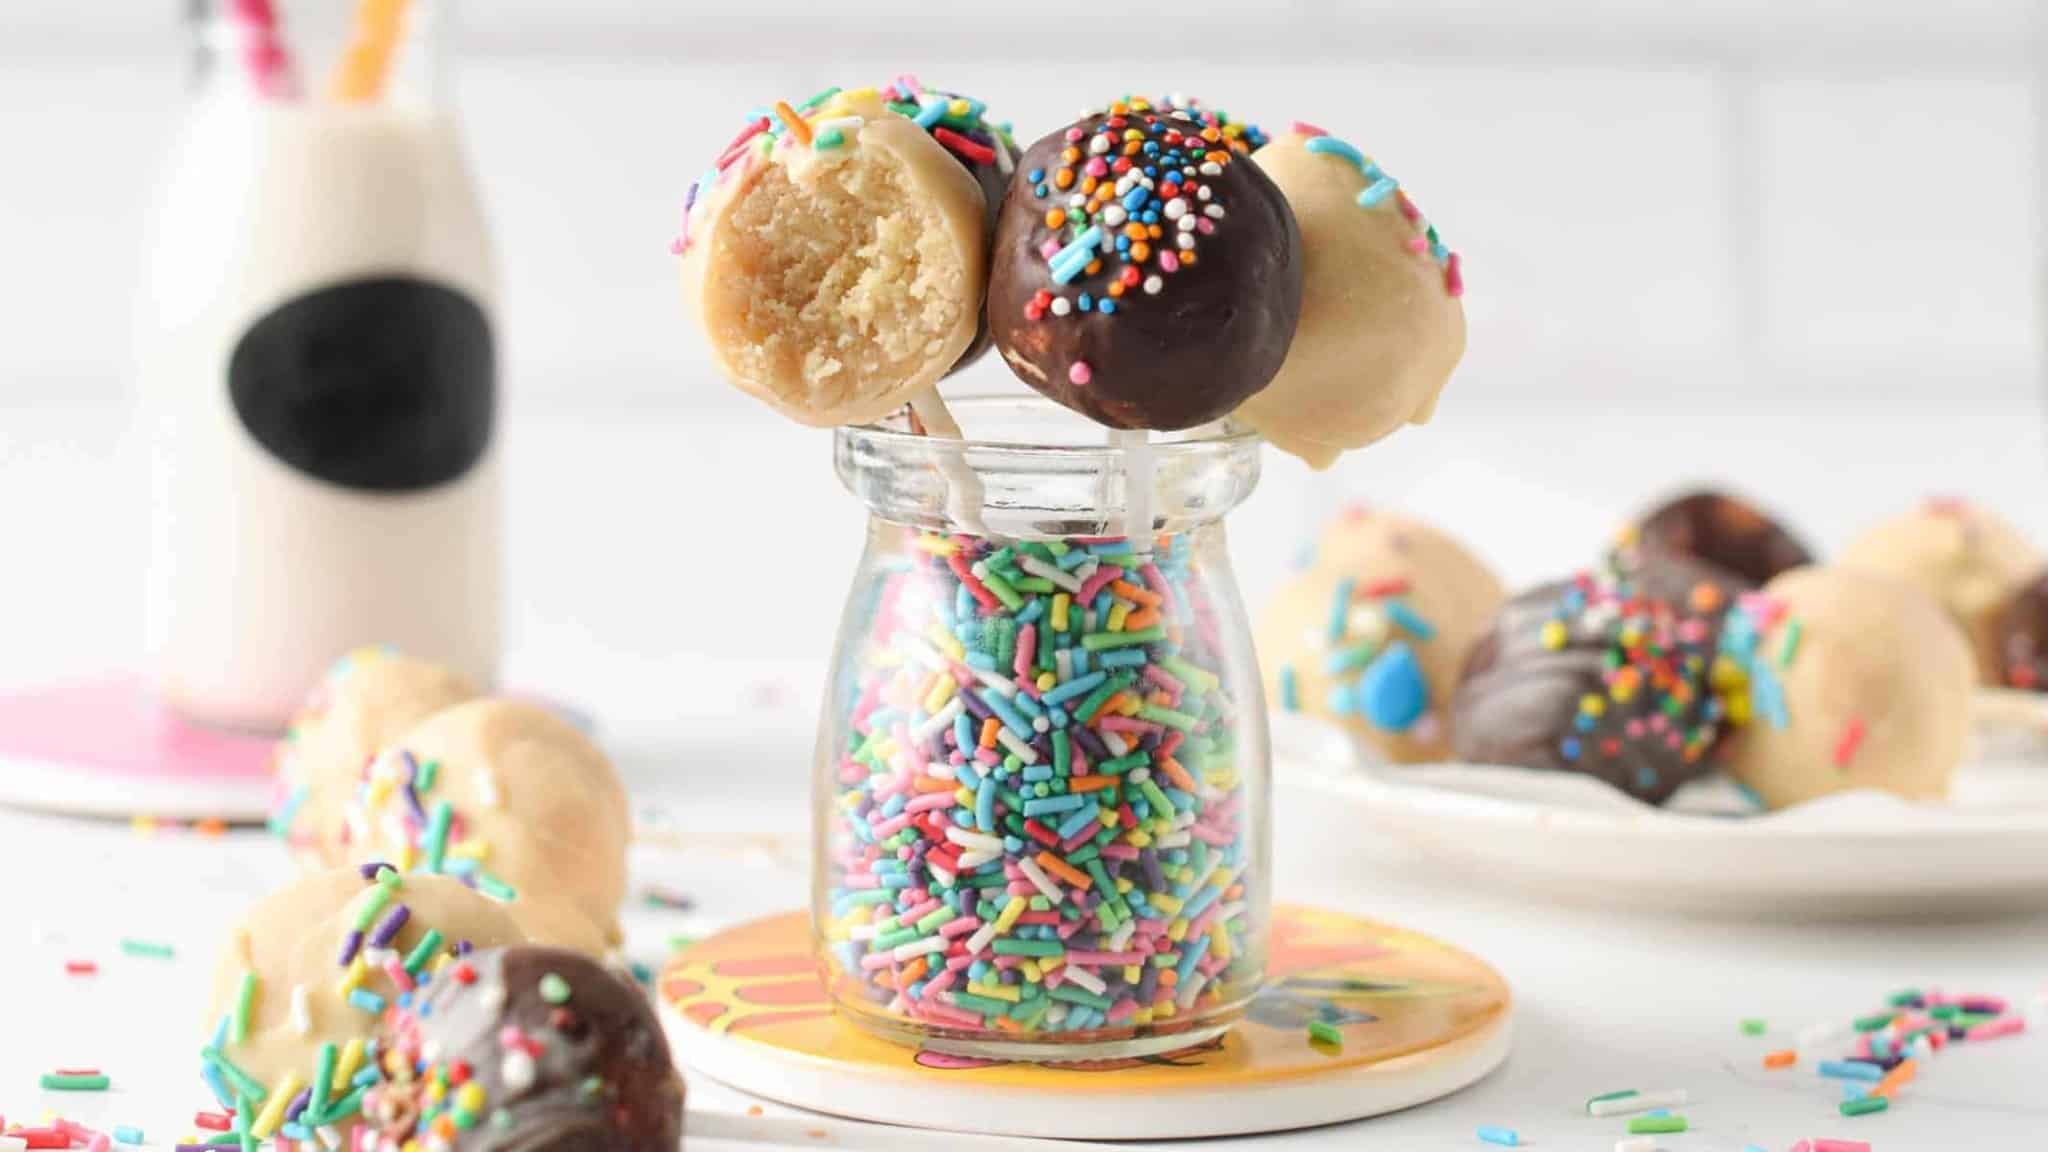
Imagine a moist, flavorful bite of cake, encased in a delicate, rich chocolate coating, and adorned with playful sprinkles. Now, imagine that bite is packed with wholesome ingredients, entirely dairy-free, egg-free, and ready in mere minutes. This isn't a fantasy; it's the reality of no-bake healthy cake pops. Perfect for impromptu celebrations, a thoughtful afternoon pick-me-up, or even a post-workout refuel, these treats are incredibly versatile and universally loved. I’ve personally seen them vanish within minutes at family gatherings – a testament to their irresistible charm.
Why Opt for Healthy, No-Bake Cake Pops? A Conscious Choice
The allure of cake pops is undeniable, but traditional versions often come laden with butter, cream cheese, refined sugar, and artificial ingredients. Our focus shifts this narrative entirely, offering a treat that aligns with modern health-conscious lifestyles without compromising on flavor or fun. Here’s why these guilt-free delights are quickly becoming a household favorite:
- Guilt-Free Indulgence: The primary benefit is the sheer joy of enjoying a sweet treat without the usual pang of regret. By utilizing natural sweeteners and wholesome flours, you’re providing your body with nutrients rather than empty calories.
- Wholesome Ingredients, Superior Nutrition: Our recipe champions simple, identifiable ingredients. Almond flour provides a wonderful texture while delivering healthy fats and protein. Plant-based Greek yogurt offers creamy richness akin to cream cheese but without dairy, making these suitable for many dietary restrictions. Natural liquid sweeteners like maple syrup offer sweetness with a lower glycemic impact compared to refined sugar.
- Effortless & Quick Preparation: Life is busy, and sometimes a 15-minute recipe is all we can manage. These healthy cake pops require no oven time, no complex mixing, and minimal cleanup. From prep to plate, you're looking at less than 20 minutes, making them ideal for spontaneous treats or last-minute party contributions.
- Dietary Inclusivity for Everyone: This recipe is a champion of dietary flexibility. It's naturally dairy-free and egg-free, making it fully vegan. For those managing gluten sensitivities, almond flour ensures a delicious gluten-free experience. The core recipe can also be adapted to be protein-packed or adjusted for specific dietary needs, ensuring there's an option for everyone, from toddlers to fitness enthusiasts. For more insights into creating delightful, guilt-free snacks, explore our guide on Wholesome Healthy Cake Pops: Your Versatile Guilt-Free Snack.
- Kid-Friendly & Fun: Kids adore these treats, often even more than their sugar-laden counterparts. The colorful sprinkles, the stick, and the bite-sized format make them incredibly appealing. Plus, they’re a fantastic way to sneak in some wholesome goodness without a fuss. If you're specifically looking for kid-friendly options that are both fun and nutritious, dive into Easy Vegan Cake Pops: Healthy No-Bake Treat for Kids.
Crafting Your Guilt-Free Delights: The Simple Recipe for Healthy Cake Pops
Get ready to create some magic! This recipe for no-bake healthy cake pops is so straightforward, you'll wonder why you ever bothered with traditional baking.
Ingredients Spotlight: What You'll Need
- 1 ½ cups Almond Flour: This is the star of our cake pop base, lending a wonderfully soft, almost marzipan-like texture. It's naturally gluten-free and provides a good source of healthy fats and protein. While oat flour can be used as an alternative, be aware that it might result in a slightly drier, grainier texture.
- 3 tablespoons Maple Syrup: Our natural sweetener of choice. Maple syrup offers a rich, complex sweetness. You can also experiment with other liquid sweeteners like agave syrup or coconut nectar, adjusting the quantity to your preferred level of sweetness.
- 3 tablespoons Plant-Based Greek Yogurt: This acts as our binder, providing the necessary moisture and creamy consistency, much like cream cheese in traditional cake pops. Coconut Greek yogurt works exceptionally well due to its thickness and subtle flavor, but any thick plant-based yogurt (e.g., soy, almond) will do.
- 1 cup White or Dark Chocolate Chips: For the irresistible coating! Choose high-quality chips. For a vegan option, ensure your chocolate is dairy-free. White chocolate creates a classic look, while dark chocolate adds a rich, intense flavor and often more antioxidants.
- ¼ cup Sprinkles (Optional): For that pop of color and festive touch! Look for naturally colored, plant-based sprinkles if you want to keep them as wholesome as possible.
- 1 teaspoon Vanilla Extract: A crucial flavor enhancer that brings out the sweetness and adds depth to the cake pop base.
- Cake Pop Sticks: Essential for the classic cake pop experience!
Step-by-Step Instructions: Ready in Minutes!
- Mix the Batter: In a medium-sized mixing bowl, combine the almond flour, plant-based Greek yogurt, maple syrup, and vanilla extract. Stir everything thoroughly until a uniform, pliable dough forms. It should be firm enough to roll but still slightly sticky.
- Shape the Cake Pops: Scoop out approximately one tablespoon of the mixture for each cake pop. Roll it between your palms to form a smooth, compact ball. Place each ball onto a plate or baking sheet lined with parchment paper. Aim for uniformity to ensure even chilling and dipping.
- Freeze for Firmness: Transfer the plate with the shaped cake balls to the freezer for a quick 10-minute chill. This step is vital as it helps the balls firm up, making them easier to handle and preventing them from falling apart when dipped in warm chocolate.
- Melt the Chocolate: While your cake balls are chilling, prepare your chocolate coating. Melt the white or dark chocolate chips using a microwave-safe bowl (in 30-second intervals, stirring in between) or a double boiler until smooth and fluid. For easier dipping, pour the melted chocolate into a tall, narrow cup or container.
- Insert the Sticks: Retrieve the firm cake balls from the freezer. Dip the tip of each cake pop stick into the melted chocolate, then gently push the chocolate-coated tip into the center of each cake ball. The melted chocolate will act as an adhesive to secure the stick.
- Dip & Coat: Holding the stick, carefully dip each cake ball into the melted chocolate, ensuring it's fully coated. Gently twist and tap the stick against the edge of the container to allow any excess chocolate to drip off.
- Decorate & Set: While the chocolate coating is still wet, liberally sprinkle your colorful sprinkles over each cake pop. This is where the fun really begins!
- Final Chill: Arrange the decorated cake pops on a stand or back onto the parchment-lined plate. Place them in the refrigerator for at least 15-20 minutes, or until the chocolate coating is completely set and firm.
Tips for Success & Creative Variations
Making healthy cake pops is incredibly rewarding, and a few expert tips can elevate your experience:
- Dough Consistency is Key: If your dough feels too wet, add a tiny bit more almond flour. If it's too dry and crumbly, add a splash more plant-based yogurt or maple syrup until it's easily rollable.
- Chocolate Dipping Perfection: Ensure your melted chocolate isn't too hot, as it can melt the cake ball. If it starts to thicken during dipping, gently reheat it. A tall, narrow cup minimizes waste and makes dipping easier. For an extra smooth finish, strain your melted chocolate through a fine-mesh sieve.
- Flavor Boosters for the Dough:
- Chocolatey Twist: Add 1-2 tablespoons of unsweetened cocoa powder to the dough for rich chocolate healthy cake pops.
- Zesty Kick: Incorporate a teaspoon of lemon or orange zest for a bright, citrusy flavor.
- Spice it Up: A pinch of cinnamon, nutmeg, or pumpkin pie spice can add a cozy warmth.
- Nut Butter Infusion: Swirl in a tablespoon of almond or cashew butter for added richness and healthy fats.
- Creative Topping Ideas: Beyond sprinkles, consider finely chopped nuts, shredded coconut (toasted or raw), cacao nibs, freeze-dried fruit powder, a drizzle of contrasting melted chocolate, or even a dusting of cocoa powder.
- Storage: Store your finished healthy cake pops in an airtight container in the refrigerator for up to 5-7 days. They can also be frozen for up to a month, though the chocolate coating might slightly dull after thawing.
- Serving Suggestions: These are fantastic for kids' parties, as lunchbox treats, for bridal showers, or simply as an everyday healthy snack. Their grab-and-go nature makes them perfect for busy individuals seeking a wholesome energy boost.
Embrace the Guilt-Free Sweetness!
These no-bake healthy cake pops truly are a game-changer for anyone who loves sweets but wants to make conscious choices. They prove that delicious, decadent flavors don't have to come at the expense of your health or time. With simple ingredients, minimal effort, and endless possibilities for customization, you can create a treat that perfectly suits your taste and dietary needs. So, go ahead – whip up a batch, share the joy, and indulge in these quick, guilt-free bites of bliss!
